|
This past project in my Digital Design class surrounded the idea of individually driven learning using HitRecord. HitRecord is an online collaborative production company founded by Joseph Gorden-Levitt. You are able to post or complete projects within your personal interests. My interests took me to the Illustration/ Graphic Design/ Photography projects. From there I found a few tasks that I might want to be a part of. I ended up choosing a project that involved creating designs for motivational coasters. I then narrowed that down to adding the theme of Disney. I did this because when you just search “motivational quotes” thousands of results appear, and within that, there are hundreds of categories. I chose Disney because I have always been interested in this company and their work. 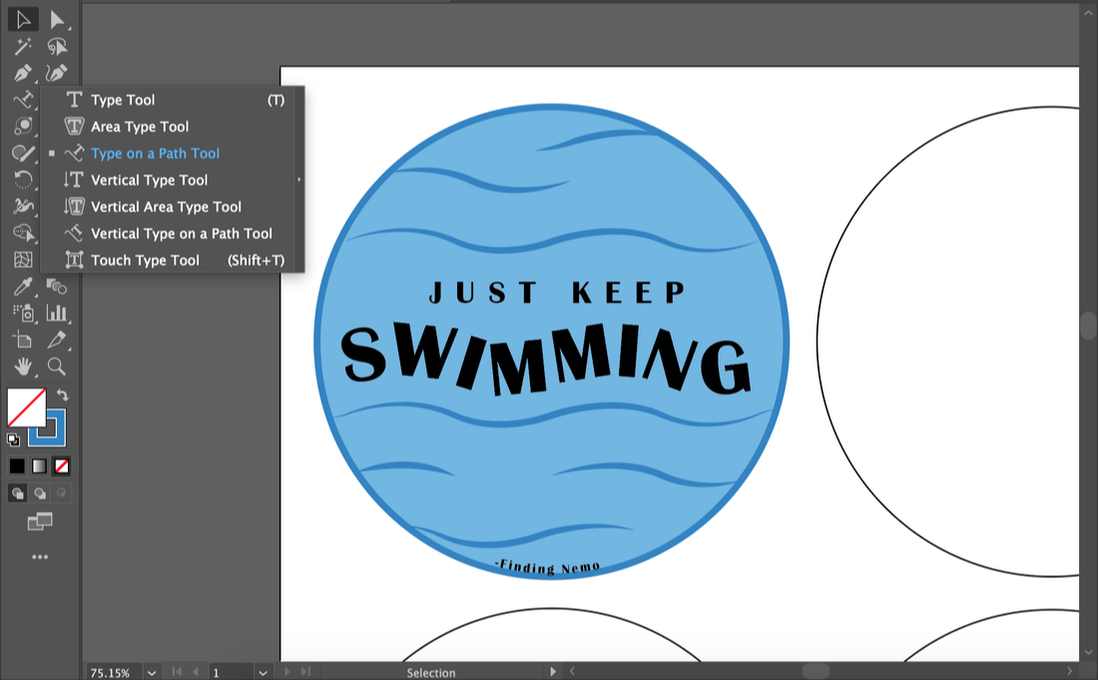 Once I decided on the Disney Theme, my mind instantly went to Finding Nemo and the infamous quote of “Just Keep Swimming” sung by Dory. This was my first coaster so I wasn’t exactly sure what direction I wanted to go with the rest. I played around a little in sketching my ideas but I ended up with the look of waves. To achieve the simplistic look I wanted, I needed to go beyond what I previously knew in Illustrator. The main tool I needed to learn was how to curve and customize how my words look. For this, I discovered the type on path tool. Once I found it, it was pretty straight forward in learning. 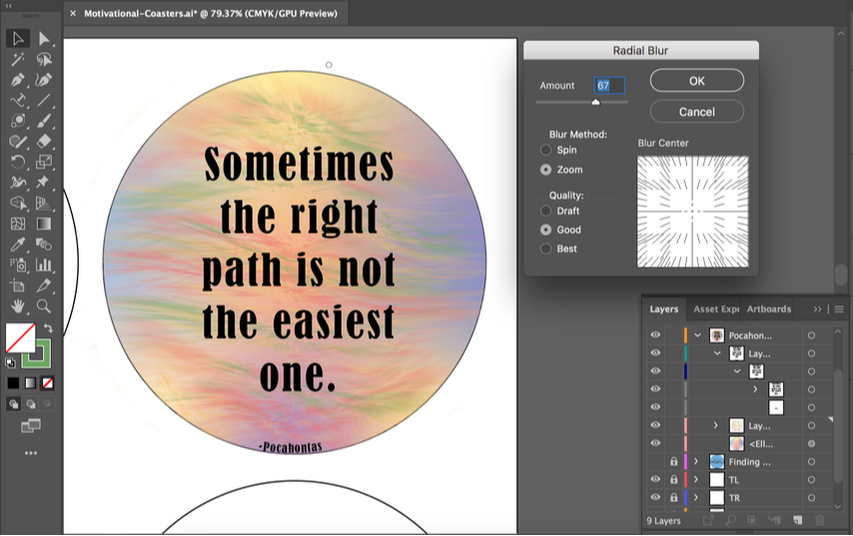 From there, I looked for other Disney quotes and landed on this one from Pocahontas. For this coaster, the vision was definitely not instant. I played around with a couple I ideas I had rolling around my brain and eventually landed on the scene of a path outlines with draping trees. However, as I developed this idea more and more in illustrator it looked worse and worse. About 2 days before the project was due, I ended up deleting the entire background. From there, I played around with gradient and blurring. I learned a lot with the gradient tool from the last two coasters so that wasn’t much of a challenge anymore. However, I don’t believe I have ever used the blurring effect in Illustrator so finding then playing around with it was interesting. I ended up doing very rough brush strokes then using the radial blur tool. This helped me immensely with achieving a windy fall feel. 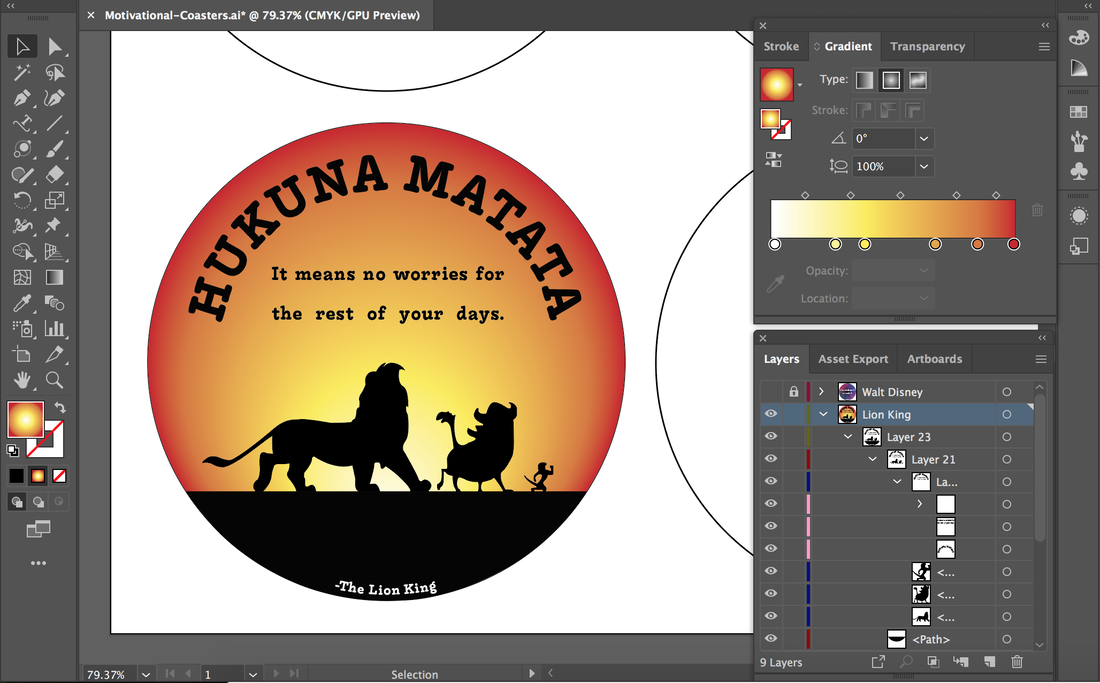 This coaster is definitely my favorite. I have always loved the phrase Hukuna Matata. For this, the color pallet was a given to me: warm sunsets. To achieve the look I wanted, I had to learn more about how to use the gradient tool. This was a challenge for me but now I know it forward and backward. From there I wanted to do something the letters so it wouldn’t be too boring to look at. I then made the phrase into an arc (now knowing how to curve text) but it still looked empty. I then added the definition as it states in the song. Once I had that, the top was fun and interesting but I just had the bottom as there the gradient all came together. My solution to this is drawing inspiration from the movie and creating a silhouette of the three characters who sing the song. This was very straight forward and in my realm of knowledge. 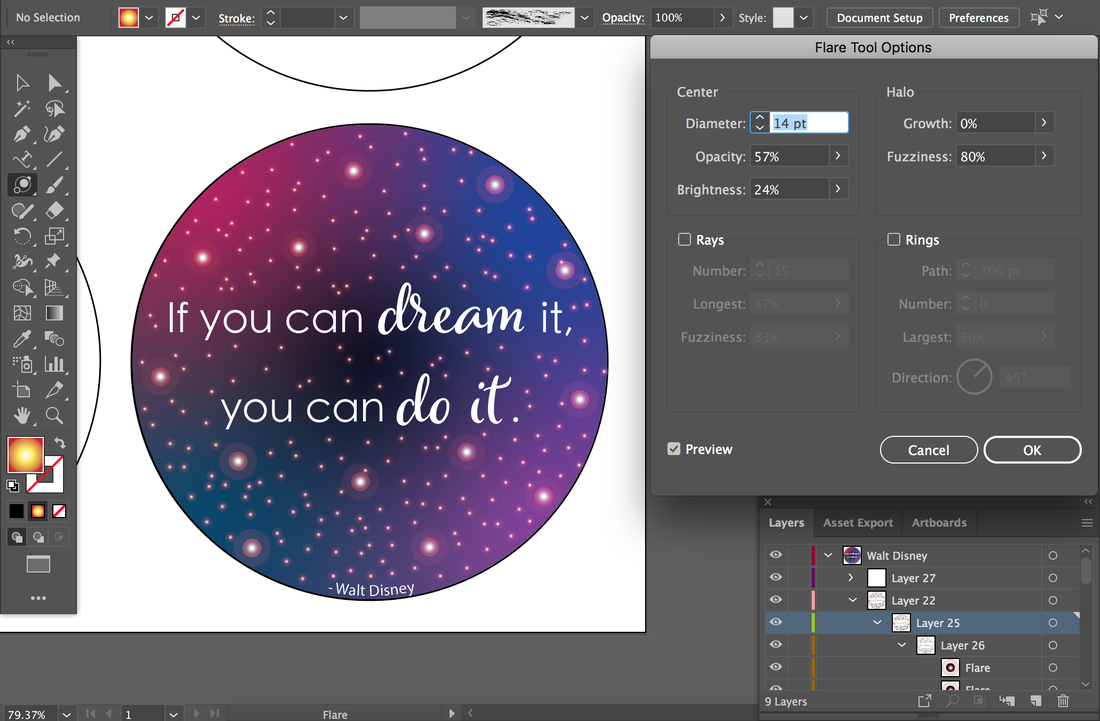 For my fourth and final coaster, I wanted to tie all of them back together and do a quote from the man that started it all. One of Walt Disney’s most famous quotes is “If you can dream it, you can do it.” For this one, I wanted to draw on the word “dream” and my initial vision was of a soft galaxy. Using the gradient tool of which I had just learned, I played around with the freeform aspect. From there, I needed to create the look of starts. This was a big challenge for me. Not knowing what to do I started just making two dots, one bigger with a lower opacity and the other smaller in the core of the larger with full opacity. This looked terrible. Then, I discover the life-saving flare tool. It took a little bit of time to understand it, but I eventually got it. I started off creating the look I wanted with one and then continued to copy and past it randomly. After that, I pasted another but made it increasingly smaller and copy and pasted than MANY times. For the text, I wanted “dream” and “do it” to stand out. After deciding this, I played around a lot with different fonts and how to make it look like they are supposed to go together. With all of these coasters, there was not one single design that went perfectly smooth. For each one, I just kept revising. For the Finding Nemo coaster, I got the base done and keep going back to change the flowing likes or to play around with the background. For the Pocahontas one, I played around a lot wit the first idea and ended up doing an entirely different one. For the Lion King one, I played around with the gradient and different colors for a good amount of time and at first didn’t include the silhouette. With the Walt Disney coaster, I tried different colors and at first didn’t change up the fonts. Revision is the key to making your work the best it can be. 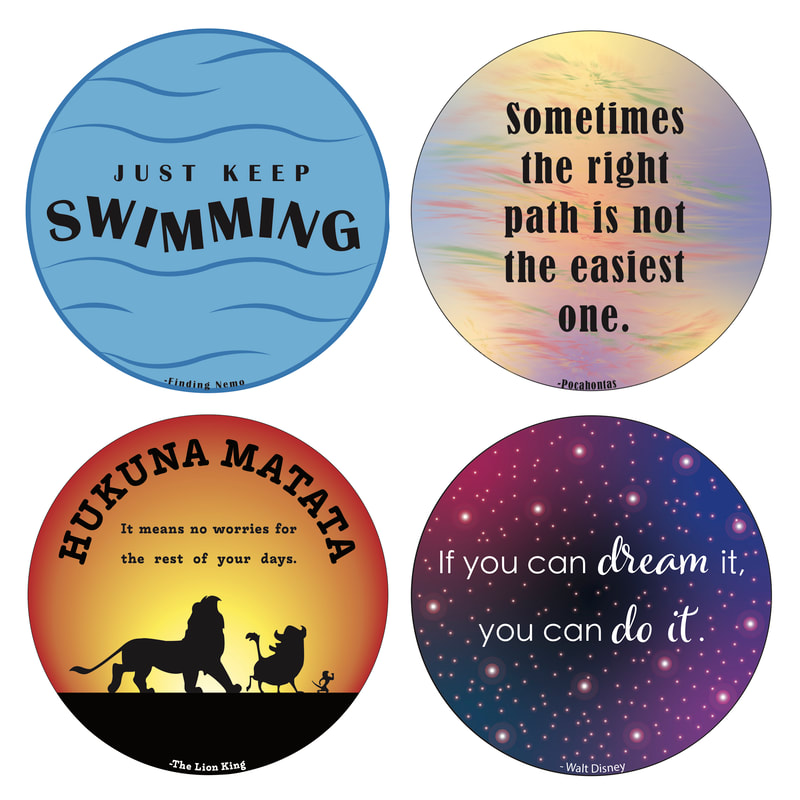 When asked what I would do differently for next time, I instantly had an answer. Next time, I would like to take out a piece of paper, draw the four circles, and brainstorm. I would have liked to choose ALL of the quotes beforehand then play around with different visuals that way they all look cohesive. Overall, This project was very interesting. In terms of my education with digital design, I learned a lot. Specifically, in Adobe Illustrator, I learned various skills across the board. This project has also taught me a lot about how I work. I have noticed that when working on an individually driven project, my experience with group projects has set me of for this. I find it surprisingly easy to divide up work and deciding what I should get done when. I think this project turned out to be reasonably successful.
0 Comments
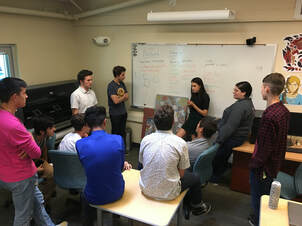 One of the larger events in the Napa Valley is the Lighted Art Festival in the winters. My Digital Design Lab Class had the privilege of being one of the featured artists this year. We were tasked with creating a piece to be projected onto a 70-foot wall in the heart of downtown Napa. This production was generously sponsored by Adobe. The process for this was surprisingly complex. The first step was a class discussion about overall themes, we ended up landing on “Beyond Imagination”. From there, we prototyped and identified sub-themes/design styles to use. We chose Geometric Shapes, Dreamscapes, Pet Wars Storytelling and Cityscapes for the transitions. From there the styles were divided among the groups. Each group, with the exception of the Cityscapes, would create a clip around two minutes long. 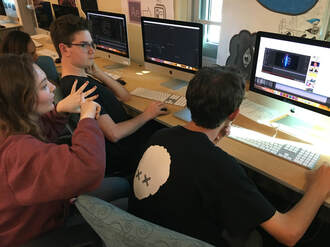 The amazing group I led was tasked with the Geometric Shapes. Once we were assigned this style we went into more prototyping. From there we narrowed down the specific look we wanted. After this, we went into brainstorming and started to form a storyboard. Looking back, the first storyboard compared to our finished video is complete opposites! I believe there is just one section that was planned from our original idea. Once we had our idea, we divided the sections and made a base design in Adobe Illustrator that we would all work off of in Adobe After Effects. A couple classes into that, we realized that our original storyboard was just not going to be able to get done within the month we had to finish. We got in what we could and improvised based on what we had to work with. Once the After Effects animations were finished we started piecing the clips together in Adobe Premiere. Within the first class of putting all of the clips into the program, we noticed some discrepancies. Some files were larger or smaller than the other or some were offset a couple of points. After going back and fixing them in After Effects and a large amount of effort, the clips flowed together as if they were never apart in the first place. 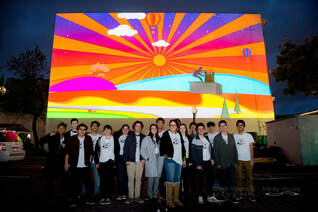 Thought out this process, we were lucky enough to have been connected with a mentor from London who also had a piece in the Lighted Art Festival. Every other week we would have a check-in and feedback call. This was extremely helpful because it was nice to have goals to keep us on track.
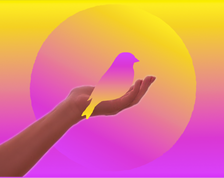
After we completed the final video with every group’s piece, submitted it to the festival and it had been running for a couple weekends we were invited to present a panel for the festival. For the panel, every group presented on their process and their takeaways. After we presented, our entire class went down to our projection. This was the perfect ending for a three-month project. Our next project in my Digital Design Lab class is based around HitRecord. HitRecord is an online collaborative production company founded by Joseph Gorden-Levitt. You are able to post or complete projects within your personal interests. You can choose projects based on writing, illustration, film, voice, photography and so much more. My interests took me to the Illustration/ Graphic Design/ Photography projects. From there I found a few tasks that I might want to be a part of.   The first one I am interested in is for a book. The project entails creating a title for a book called The Lonely Flower. For this, I need to create a font and a layout. I believe it won't take long but it sounds interesting. 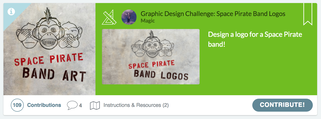 The second one is creating a logo for a band. The band name is Space Pirates so from just that, I have some ideas. My plan is to create a simplistic illustration and I will have their band name surrounding it. This one shouldn’t take too long but it sounds relatively interesting. 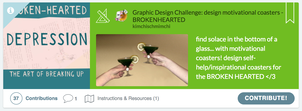 The third option is requesting concept art for drink coasters. The theme for the coaster set is for them to be motivational. This one might take a little longer because I want to create a few options. I am looking forward to playing with different programs and shapes for the coaster. Overall, I don't necessarily think it will take longer than a month to complete all three projects within class time. I hope to complete all three projects and then submitting them to HitRecord. However, I worry that I might lose motivation or interest half way through the process. I am very intrigued to see how this project will turn out in the end.
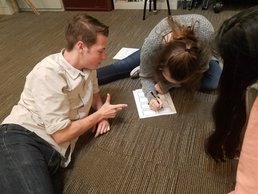
This past week my school had the privilege of hosting our first Create-a-thon. The Create-a-thon was essentially an all-school design challenge which my Digital Design Lab class put on. This event was generously sponsored by Adobe.  This event was a student-run event with support from our teacher, Adobe and a film crew. My class designed the curriculum, agenda, signage, merchandise and provided tech support. A select group of students and I were able to drive down to the Adobe office in San Francisco to promote this event. There, we recruited employees to come up to help out for the day and participated in meetings. The Saturday before the big day, a few of us came into school for half the day in order to set up and prepare for the event. Hours and hours of preparation went into this event and personally, I believe it all paid off in the end. 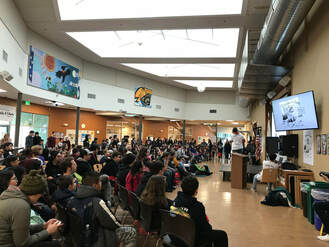 The Create-a-thon turned out to be a stressful but fun day in the end. There was a lot that had to be done in order to achieve the result we accomplished. I was one of the three head students in charge. I was able to see first hand what it is like to plan and run a 700 person event. I went into logistics, planning, making sure everything was working and helping participant’s and helper’s satisfaction. Saying that this was a challenge is an understatement. However, no matter how difficult it may have been, I wouldn’t have had it any other way.
 This past summer I had the amazing opportunity to do an internship at Adobe! Every day I would drive the 30 minute trip to the ferry building, ride the hour-long ferry, then ride a bike 3 miles to the Adobe offices in San Francisco. It was quite a trip and all worth it! Although it was only a week, it was one of the best experiences in my life. I had the privilege of working with a small development team. 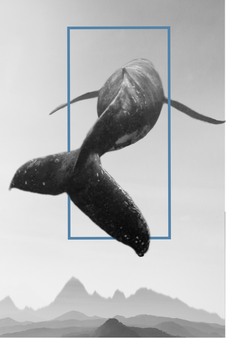 During my time in the city, I learned countless skills that can directly improve my performance and set me up for future experiences associated with my education and career. I researched potential users, similar applications, and what the demand is for the product. I sat in and participated in the team’s meetings and helped orchestrate focus groups. I was interviewed many times and was trained in how to interview others for them. Doing all of these things was extremely beneficial and interesting, however, this was not the highlight of my week. My favorite part of the week was without a doubt being able to test their product. I was able to create new pieces each day and give my feedback directly to the engineers of the product. This incredible experience was absolutely life-changing. Being at Adobe was such a valuable experience and I loved every second of it!
 My game design class was recently tasked with creating countdown clocks in the Napa Light Festival. Each clock had to be 20 minutes and incorporate light using the Saber effect in Adobe After Effects. When this was assigned to us, my mind immediately went to an hourglass. During the brainstorming process I played around with some other ideas but my mind was stuck on my original idea. When I started to create the cock, I attempted to use the pen tool in After Effects but it didn’t turn out the way I hoped. I then decided to make the drawing of the hourglass in Adobe Illustrator. From there I put the drawing into After Effects and made the lines into masks. Next, I applied the saber effects and started to animate it. The text was a bit trickier because once I got the numbers to glow (which took 2 layers), I have to make them change every minute. My peers and I then discovered how to change the number within the same layer without making new ones for EVERY SINGLE MINUTE (so 40 layers). I actually really liked this process. At some times it was very tedious but I’m very happy with the outcome.
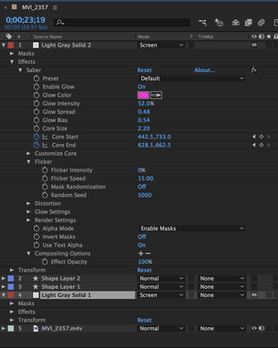 Our first project of the year in my Game Design class was to work with and learn about the saber plugin in Adobe After Effects. The saber plugin lets you adjust the glow and brightness, the sizing and so much more. Something really cool that the plugin lets you do are that you’re not limited to just making a lightsaber, you can make words flow, make a sphere, and more. For this project, we filmed a video with a partner of us sword fighting with sticks. We then put that footage into After Effects and put the lightsabers onto those sticks. In my video, I learned how to keyframe the sabers frame by frame, make multiple masks and keyframe those, and I learned how to customize my own lightsabers. I really liked working with this plugin because you have so much freedom and when you want to do something, there is most likely a way to make it happen. I feel that it was a lot of work to move the lightsaber for EVERY frame. I really wish there was a way to lock it down to something that way whenever it moved the lightsaber would move with it. I did have some obstacles with learning how to make and keyframe the masks when I needed and when I needed them to not be there, but I think it turned out okay in the end. Overall I thought this project was really fun and a great way to start off the year!
 Over the past couple of weeks, my Digital Media class made epic movies for Fair Housing Napa Valley. In this project, we needed to convey a message about how fair housing is a real problem in our society today and there is help if you or a loved one is experiencing this I felt like my team for this project really understood how to collaborate with one another in a team. Everything we did throughout this project went relatively smoothly. Everyone would take turns speaking their ideas and listening while we figured out what we want to say with this film. We would sit down and figure out the storyboard and everyone pitched in and added their suggestions. At first, a couple of us has completely different ideas about what to do, but in the end, we combined both ideas and I believe we are all happy with how our movies turned out. 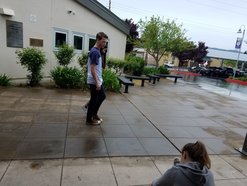 None of us went off doing other things during filming or work time. When anyone needed help or didn’t understand something we would help them. For example, in our movie, we had to include a “bird’s eye view” shot which is a shot taken from a higher viewpoint. I am rather short, therefore it was very challenging to hold the camera and see what I was filming that high, so one of my taller team members stepped in and helped me. 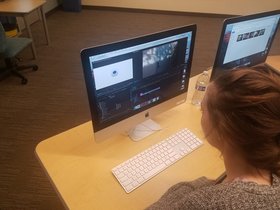 In this project, we got one week to film and another to edit. During that last week of editing, everyone was scrambling to finish their film before the deadline. My team did our best to keep each other on track and provide feedback when we were individually editing our movies. In the end, everyone finished and I think all the movies turned out relatively well.
In photoshop One of the many skills you need to know how to use is how to add and transform text. Here I will show you how to add the text, change the color, and change the font. Step 1: Add the text Once you have a background, click on the “T” in the bottom of the options on the left of your screen. Once you click on it, put the mouse somewhere and drag to fill the area that your text will be in. Your screen should look something like this. 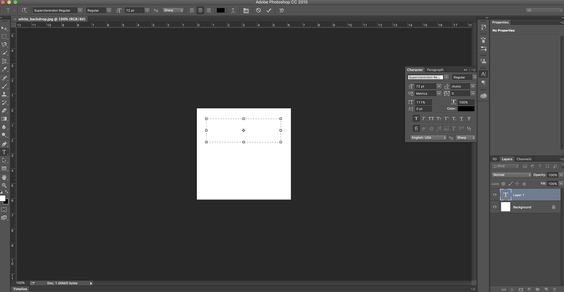 Step 2: Write what you want to say Click inside the text box so you see a blinking line that indicates where your text will be and you can start typing. You can write more than one word but here I just wrote “Hello”. 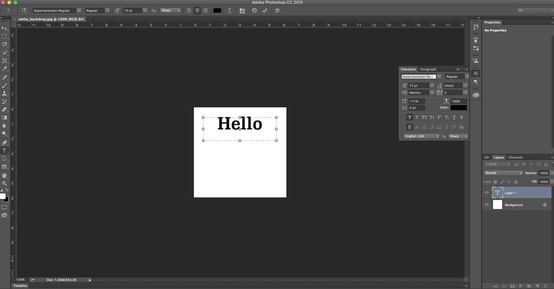 Step 3: Change the color Once you write whatever you want to write, highlight the text. Now go to the box on your right with the text information and click on the “color”. They have many options for where you can choose your color. Just click on the place on the screen where your desired color is and your text should now be that color. 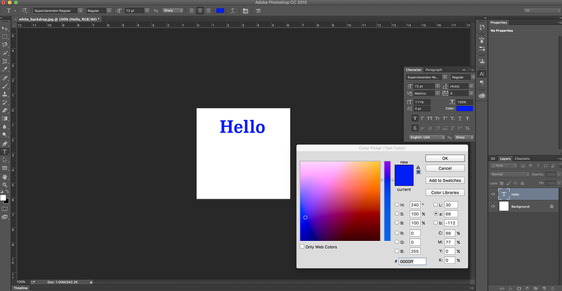 Step 4: Change the font Highlight your text again and click on the words at the top on the text information box, a long list of possible fonts should appear. When you scroll over the ones with the word “sample” it should change your font so you can view what it will look like. Once you find a font you like, click on it and it will change the font. 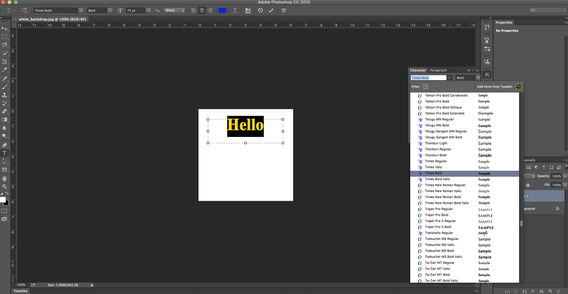 Step 5: And there you go! Now that you have your text written in the color and font you want, go to the very right of the options at the top of your screen. You should see an “X” and a check mark, click on the check mark (if you click on the “X” it will delete what you have written). And there you go! 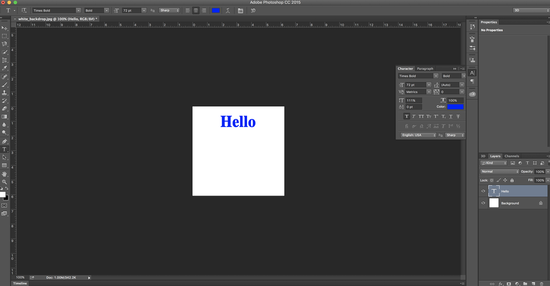 My name is Averi Dropping I am a student at the flagship New Tech High School. Today in Digital Media we learned about different types of learning styles. There is a Supporter, Promoter, Analyzer, and Controller. You can find out which one you are by seeing how formal and dominate you are from 1-10. Then based on where you land within the quadrants you cans see what category of that type you are (see the graph). 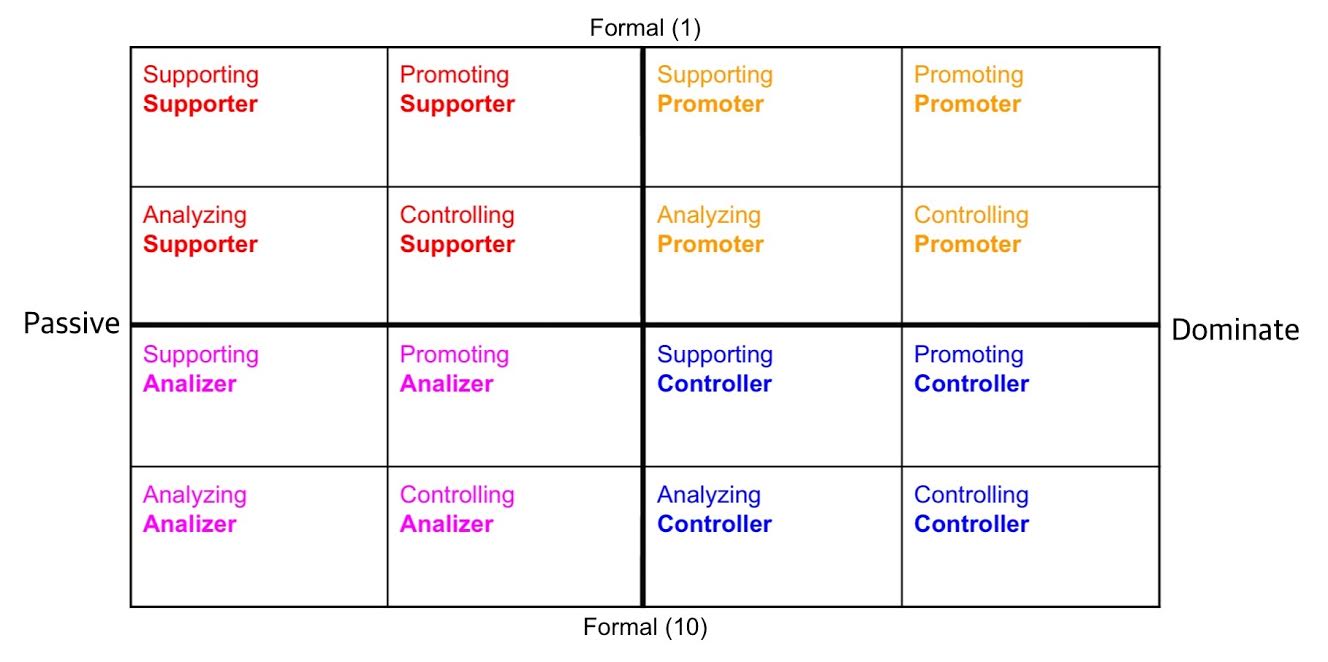 According to the graph, I am a Analyzing Controller. This means that I am very particular and I tend to take charge of the group. I placed myself at an eight in formal and 7 in dominate.
When you are working with me, an analyzing controller, I would suggest you get all your work done, if you don’t want to make me stress out. I would also suggest you actually do the work you were assigned. |
Catagories
All
Archives
March 2020
|
 RSS Feed
